Step-by-Step Eyebrow Tutorial: Draw Realistic Eyebrows for Beginners
If you have ever had to learn how to draw eyebrows on your face every morning, chances are you felt too tired some days or didn’t like how they turned out despite ample practice. Even the most experienced makeup artists can attest to the fact that brows are no piece of cake. Everyone’s brow shape is different, and there’s more of a balance between art and science to it than one realizes.
However, our team at My Two Brows has designed ways to turn this morning routine into an easy step that takes no more than 3 minutes of your time. To learn more about how you can speed this process up and still get natural-looking eyebrows, we give you all the details in the article below!
How Do You Choose the Right Eyebrow Shape for Your Face?
Earlier, we mentioned that there’s a bit of science involved with brow shapes. This is because a pair of brows can do wonders when framing your face. Depending on your natural face shape, you can tweak your brows to accentuate your best features. This not only makes you look pleasing to the eye, but it can also help you better express or communicate.
For a detailed list of how you can shape your brows based on your facial structure, check out our guide on Eyebrow Shapes.
Using Eyebrow Pencils to Outline the Shape

Whether you are just starting out with brow shapes or need an easier way to get your frame right, an eyebrow pencil is a great way to get good results! This affordable and accessible tool can be used to map your brow shape in 3 steps:
Step 1: Vertically place the tip of your pencil on the dimple of your nose and align it with the inner corner of your eye. Where this land is your brow starting point, which you can now mark with the pencil.
Step 2: With the tip still on the dimple of your nose, diagonally move the other end of your pencil towards the middle of your brow line, until it is in line with your iris. You can mark the point however high or low you want as this will serve as your arch.
Step 3: Lastly, still keeping the tip on the dimple of your nose, move the other end even further toward the corner of your eye. This mark is your brow’s tail.
Simply outline the 3 points, adjusting the overall thickness, arch height, and definition as you go along.
Considering the Natural Hair and Brow Line
When discovering the right brow shape for your face, you must consider how your natural hair grows into your brow line. More often than not, your natural shape compliments your features best with just a few tweaks here and there to keep it neat and defined.
This can be difficult for those with sparse brows, and all the more challenging for those with no brows altogether. Because of this, we brought to life the Eyebrow Stamp Kit, which not only helps you get the right shape, arch, and thickness but also allows you to explore brow options with ease.
How to Draw Your Eyebrows with Feathery Strokes

Boxy and too-straight brows can be an eyesore as they don’t look natural and can even dampen your natural features. The best way to use brow pencils, powders, or pomades is by creating light, feathery strokes.
Step-by-Step Tutorial for Beginners
Step 1: The first step to drawing your brows is choosing the right product for you.
- Brow pencils are the perfect starting point as they are straightforward and quick to learn. Make sure to get a shade that matches your natural hair color, if not slightly lighter.
- Brow pomades can give a bolder look as they are highly pigmented. This is perfect for those who want a more defined, sculptured aesthetic.
- Brow powders are more versatile than pomades but also need a bit of a learning curve compared to brow pencils. They offer a soft finish and are most ideal for filling in sparse areas rather than drawing brows from scratch.
Step 2: The next step is mapping them out like we covered earlier. This gives you a guide on where you want to apply the product and also gives you a quick visual before you start your process.
Step 3: Once you have your outline, gently fill in the shape with light and feathery strokes. Start from the inner corner and swiftly apply the product in the same direction your hair strands grow until you reach the outer corner.

Creating a Natural Look with Realistic Strokes
Whether you have brow hair to blend into, or working with a clean slate, it’s important to mimic natural hair strands when applying product. Instead of a perfectly solid shape, this technique gives you realistic results and a natural finish.
Common Tips and Tricks for Better Results
- Bolder Look: If you want a bold look, as many go-getters do, emphasize your arch.
- Blend Edges: Always use a spoolie to blend the edges of your brows. Whether you want a soft look or a bold aesthetic, harsh lines are a no-go.
- Layer Out: Add volume and texture to your brows by applying in layers, not in multiple straight lines.
- Concealer: Getting a concealer that’s a shade lighter than your natural skin tone then applying a thin layer under your brows can help for a cleaner look. Make sure to completely blend it in!
- Shade: Always get a shade that either matches your natural hair or is a bit lighter. This helps make it look realistic.
How to Correct Common Eyebrow Mistakes?
No matter how often you apply brows, we’re only human and mistakes can happen. The two most common blunders when drawing brows happen when filling the outlines and when defining both the tail and arch. Find out how to quickly remedy these below:
Filling Sparse Areas Effectively

Thinning hair can lead to patches along your brow line. While it can be distressful, sparse brows can still be used as a handy guide when filling in the entire area. Not only can you blend strokes easily, but you also have an idea of how thick you need to go.
When looking for a permanent fix to thin brows, you may come across procedures that involve puncturing the skin to apply pigment. This is not for everyone and should be thoroughly weighed out. Less invasive procedures such as henna brows can offer safer and more instant results. For a more hands-on approach without even having to leave the house, brow stamp kits or temporary brow tattoos are your best bet.

Fixing the Tail and Arch Proportion

Your arch can go as high or low as you please, and finding the right balance that suits your face is a trial-and-error process. The same principle applies to how long the tail should extend.
If you are having trouble with the proportions, go back to basics by taking a brow pencil, keeping one end on the dimple of your nose, and aligning it with the inner, middle, and outer points of your brow line. From there, simply lower or raise the middle to define your arch.
What Are the Best Tools and Products for Drawing Eyebrows?

The beauty market is filled to the brim with products that help make brow shaping and definition a breeze. You have your share of brow pencils, pomades, and brow powders that have proven to make even the most challenging brow lines achievable.
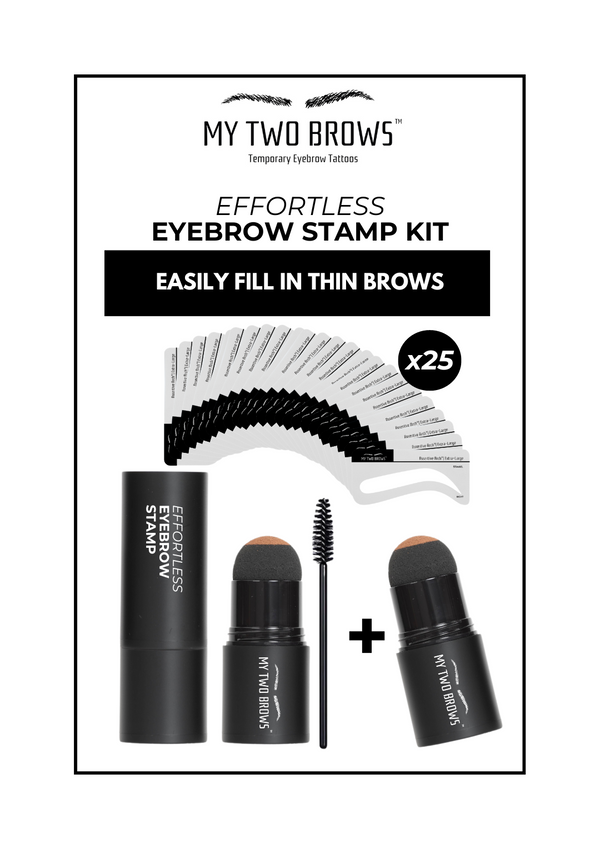
However, if mapping out your features and outlining your face isn’t your cup of tea, there is a faster and even easier way to get a naturally full brow without the need for a creative touch. The Eyebrow Stamp Kit comes with 25 realistic stencils in varying arch heights and sizes. This handy tool also comes with 2 stamps, allowing you to switch between brow colors as you please.
Using a Spoolie Brush for Perfect Blending

For those with sparse brows, this product has a spoolie to help comb your natural strands and effortlessly blend in. It takes under a minute to get naturally stunning brows that are smudge-proof, waterproof, and sweat-proof.
Applying Concealer to Highlight the Brow Bone
Taking it a step further, you can apply a light layer of concealer to enhance your brow bone. This not only supports the shape but also adds to your brow definition.
How Can a YouTube Tutorial Further Aid in Drawing Eyebrows?
The internet is full of information that you can use to learn a new skill, practice a process, or visualize how things are supposed to work. More than other social media platforms, YouTube tutorials are one of the most effective ways for self-taught learners to achieve their goals - brow drawing included!
Benefits of Following a Detailed Eyebrow Tutorial on YouTube
One of the many great things you can stand to gain from a detailed tutorial on YouTube is the ability to observe the process unfold at your own pace. Not only do most tutorials show close-up steps, but you also get verbal insight from the mentor. Moreover, YouTube videos have a comment section where other learners ask questions that you most likely would be wondering yourself.
Lastly, these tutorials are free and accessible, making subscriptions to eyebrow channels an effective solution for continuous learning.
You’re All Set!
Learning how to draw eyebrows brows can have a learning curve. There are multiple tools, products, and tips that you can follow to achieve natural-looking eyebrows in a matter of minutes. However, if you are looking for an even faster, easier, and more user-friendly way, Eyebrow Stamp Kits can surely deliver.

Let customers speak for us