Do Microblading Eyebrows Hurt? Unveiling the Truth Behind the Procedure
Looking for an eyebrow enhancement solution takes a lot of research and weighing out the pros and cons. There are many options on the market today, each with its advantages and challenges, including the very popular microblading treatment.
To decide whether or not this procedure is for you, this article takes a look at its healing process, necessary preparations, and how much does microblading eyebrows hurt.
Does Microblading Hurt? An Insight into the Procedure's Pain Level

Image by Freepik
While pain is subjective since everyone’s tolerance level can be different, you could often tell how much you would need to hold your breath based on general feedback.
Most people who have undergone microblading say it only feels a little more painful than waxing or plucking your brows, but not as distressing as getting a regular tattoo.
However, a factor to consider is that the brow area is naturally more sensitive, especially towards the inner section leading to the nose bridge. This could cause more pain especially if one’s tolerance is low.
Comparing Microblading Pain to a Regular Tattoo
Pain levels when getting regular tattoos differ based on where you get them. For instance, a tattoo on your arm could hurt less than one on your ankle since there is more natural cushion in the area.
The same principle applies to microblading. The brow line may feel more sensitive to some, which may cause more discomfort. However, the cosmetic procedure is generally regarded as less painful because the needles are not inserted as deeply and a numbing cream is also usually applied.
The Role of Topical Numbing Creams in Reducing Pain
Microblading involves multiple microneedles inserted into your skin. While they are generally tolerable, the area can get sore and tender after repeated application throughout your session. Because of this, topical numbing creams can help reduce the pain and make the procedure even easier to overcome.
Preparing for Your Microblading Appointment: Tips to Minimize Pain

While the microblading session itself is pretty standard, there are tips and tricks you can apply to minimize pain and feel more confident when going into your appointment.
Choosing the Right Technician: Why Experience Matters
It goes without saying that the right technician can make a world of difference, not only in the results but throughout the entire process. With ample expertise, your chosen artist should be able to make you comfortable during the treatment, apply the pigment correctly, and ensure the topical numbing cream is effective.
Pre-Appointment Tips: Preparing Your Skin for Microblading
To make sure your skin is not too sensitive leading up to the procedure, refrain from these activities for at least the week prior:
- Tanning or too much sun exposure
- Laser treatments on your brows
- Chemical peels or facials
- Skincare products (aloe vera or other gentle and moisturizing products are fine)
Also, stop taking medications and supplements that can thin out your blood 48 hours prior to your treatment. However, if you are taking them for maintenance, it is best to consult your doctor first.
What to Expect During the Procedure: A Step-by-Step Guide
Step 1: Consultation

Before your procedure starts, your technician will guide you through a consultation period wherein they analyze your natural brow shape and determine how to apply a fuller yet natural look.
This step will also involve taking measurements of your brow line to determine how to position your brows.
Step 2: Pencil In

Once measurements have been taken and the brow shape is agreed upon, your technician will draw on brows to give a more visual idea of the final shape and spacing.
Step 3: Choosing Your Color
There are many shades of pigment and testing each out can help determine which one matches your natural tone best.
Step 4: Numb The Area

Image by Freepik
Before application, your technician may spread a thin layer of topical cream that will gently numb the area. However, some artists prefer not to use this on the very first layer to allow the pigment to set.
Step 5: Microblading
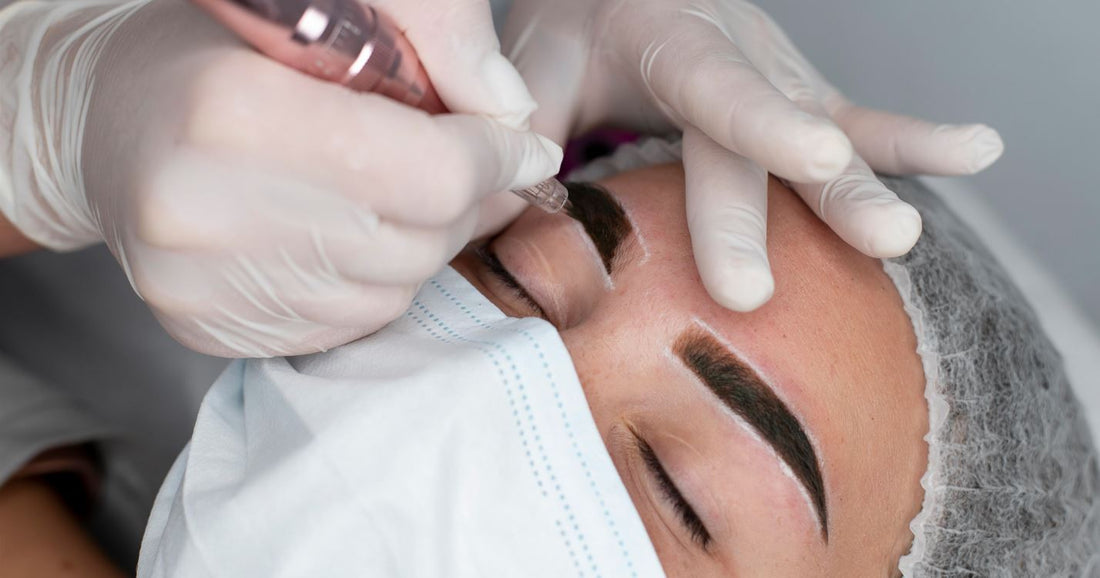
Your artist will apply pigment right below the surface of your skin through multiple microneedles. These needles are barely visible, which makes them even more tolerable. The reason why they are designed this way is to mimic hair-like strokes, resulting in a more natural finish.
Step 6: Aftercare Instructions
Once finished, your artist will then provide you with aftercare instructions based on your skin type. This routine typically lasts 10-14 days, with the first week being most crucial for healing.
The Healing Process: What to Expect After Getting Your Eyebrows Microbladed

Immediately after leaving your technician’s clinic, your healing process begins. Your brows will go through many phases as it cures. Some stages may leave you concerned, but we’re here to give you a quick look into what you can expect in order to take on your aftercare with confidence.
Immediate Aftercare: The First 24 Hours After Microblading
The first 24 hours up until day 3 post-treatment, you can expect your brow line to be very red, tender, swollen, and may even bleed a little. This is completely normal but is also the most crucial time to keep your brows dry and free of dirt.
Your technician may recommend applying a bit of Vaseline or other healing ointment to help support your skin.
Dealing with Itching and Scabbing: Do’s and Don’ts

Days 4 to 7 may see some scabbing, and flaking, and cause itchiness. It is important not to pick or scratch the area as this can backtrack your skin’s healing process and leave scars. During this half of the first week, your brows will also seem darker and fuller than expected but this is normal.
All of this should subside between days 8 and 14 as your skin starts to even out and the color also fades into a natural hue. Throughout days 4 to 14, continue to apply healing ointment and moisturize while avoiding certain activities such as tanning, facials, and the like.
Long-Term Healing: How Long Does it Take for Eyebrows to Heal?
Your brows can take up to 14 days to completely heal, but this range differs based on your skin type and how well your aftercare routine was applied.
Once they have fully healed, you may schedule your touch-up appointment. In this session, your technician will fill in any gaps wherein the pigment did not set properly, and also define your brow shape to better compliment your natural look.
Comparing Microblading Pain to Other Brow Procedures

Earlier we touched on the pain level disparity between microblading and traditional tattoos. Below we cover a bit of how other types of brow enhancement options are fair in terms of discomfort during application.
Microblading vs. Powder Brows
Powder brows are often compared with microblading since both procedures use microneedles to insert pigment into the skin. However, they do not only differ in results, but they also use different tools to work the needles.
Microblading uses a handheld, manual tool while powder brows (also known as ombre brows) utilizes a handheld PMU machine. Because of this, the powder brows procedure is known to be less painful.
Microblading vs. Henna Tattoo
Another popular semi-permanent alternative is henna tattoos. These are dyes applied on the surface of the skin, and no need for needles. They are not painful at all, except for the rare occasion of allergies acting up.
Microblading vs. Eyebrow Threading or Waxing
Threading or waxing are brow enhancement procedures done monthly. These are often painful at first, but soon feel tolerable once you’re used to the monthly appointment. Those who have tried both microblading and threading or waxing report that the former is only slightly more painful.
Understanding the Role of Skin Type and Sensitivity For Brow
While microblading can be applied to all skin types, the different kinds can significantly impact how sensitive one’s brows are to receiving pigment.
Those with normal, dry, or combination skin will most likely experience clean and even results. These skin types can also hold the pigment for 1 to 1.5 years. However, oily skin results in a more powdery and soft look, with the natural secretion letting out pigment more often as it spreads over time. Those with oily skin typically have microbladed brows that last a year or less. Despite these differences in healing and retention, the pain level is similar for all the above types.
However, those with sensitive skin may experience a little more pain as they are more susceptible to irritation and swelling. Moreover, their aftercare will be more rigorous but the retention period will be similar to the above based on how oily or dry their skin is.
What Is Better Than Microblading Your Eyebrow Hair?
If a semi-permanent procedure is not your cup of tea and you also don’t want to be getting your brow line waxed regularly, there are still other options to consider. No, we’re not talking about drawing them in every day, either!
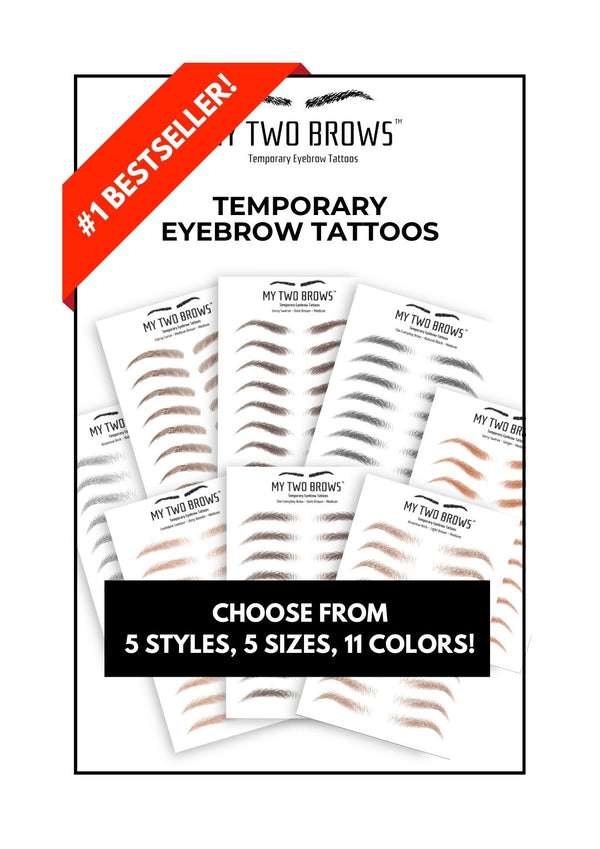
Temporary Brow Stickers are our favorite way to get natural-looking brows in the right shade and in the right shape. These are painless, affordable, and last up to 3 days, but are also easy to remove. Moreover, they can be done in the comforts of your own home - all you need is a mirror and a few minutes.
You’re All Set!
There’s a saying in the world of fitness and beauty that goes “no pain, no gain”, and while noble, this does not need to apply to your cosmetic procedures! No longer will you need to worry about how much does microblading eyebrows hurt. There are pain-free, affordable, and low-commitment alternatives to microblading and similar treatments.
For a better look into how you can get natural brows in a safe, easy, and comfortable way, check out what we have for you at My Two Brows.


