How to Apply an Eyebrow Pencil s: Easy Tips For Beginners To Shape Brows
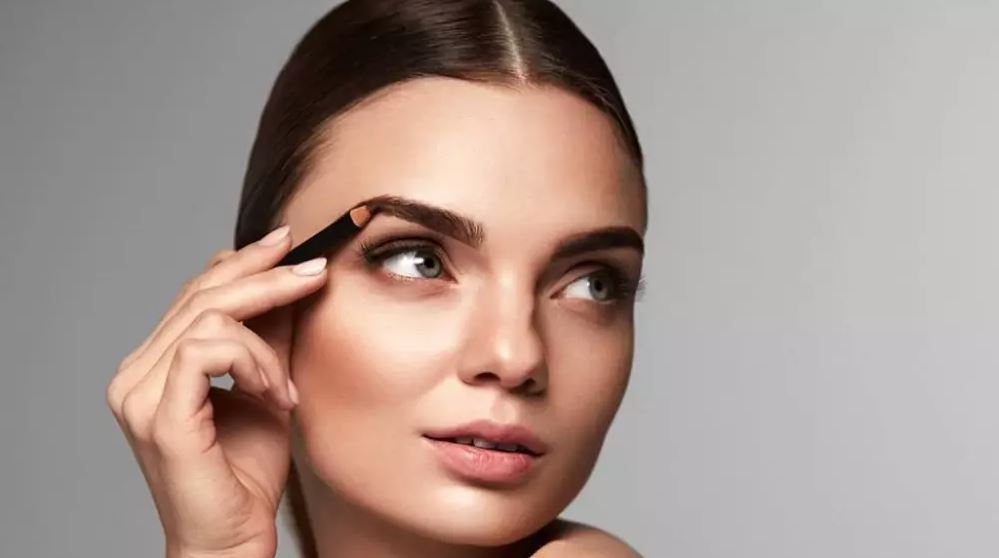
Whether you are a beginner looking for a user-friendly brow tool or a seasoned shaper, the eyebrow pencil has always been a staple in every makeup kit. From outlining your natural arch to filling in stubborn patches, a brow pencil covers a lot of bases. What makes it more convenient is it fits in your hand like any ordinary pencil, resulting in a low to almost non-existent learning curve.
In this article, we give you the lowdown on all there is to know about using an eyebrow pencil, what can enhance results further, plus alternative tools that are guaranteed to give you instantly flawless brows.
What Is The Best Way To Apply An Eyebrow Pencil?
Most if not all of us are accustomed to using a pencil. We would often learn how to write our ABCs with one before we even started with a permanent pen because it allowed us to discover our style, wipe off mistakes, and try again. This is exactly the same with an eyebrow pencil.
Different users may find a variety of ways to best apply an eyebrow pencil; from swift strokes to full shading. It’s always best to find your own groove as there are no hard or fast rules, but to get you started, we’ve listed a few recommendations below.
How To Fill In Eyebrows Using An Eyebrow Pencil
Filling in your sparse eyebrows is a straightforward 3-step process.
#1 Brush Up. If you have some brow hair, the first thing you want to do is take a spoolie and brush the strands up and over. This gives you a better idea of where your arch should be and where your patchy spots currently sit.

#2 Fill Out. Now that you have a clear view, start with quick hair-like strokes from the button to the arch then back down to the tail, slowly covering the sparse areas while following the natural curve.

#3 Blend In. Once you think you’ve covered it all, take that spoolie and gently blend it all in again for a more natural look. Remember to brush upwards and outwards to keep it neat.

What Are Hair-Like Strokes?
Hair-like strokes are very light, short, swift movements aimed at mimicking natural hair growth.
How To Blend The Pencil For A Natural Look
The more you blend in your brows with a spoolie, the more natural the results become. You can also apply the product to areas where you find patches, blend over them, and then apply again if you feel like you’ve missed a spot. This strategy helps the brow pencil look softer and blurs out the contrast between your skin, natural hair, and drawn brows.
What Tools Do You Need for Using an Eyebrow Pencil?
While the brow pencil does all the heavy lifting on its own, it works much better with a supporting cast of brow enhancement tools.
Importance Of A Spoolie Brush

If you were to only have one other tool to support a brow pencil, it should be the spoolie brush. This tiny gadget is wrapped with soft bristles and held via a long shaft, making it easier to reach all areas of your brow line.
It is responsible for blending in brow product and helping you get that natural finish with minimal effort.
Should You Use An Angled Brush?

Another type of brush that could enhance your brows is the angled brush. What makes this option a winner is its straight-cut fibers designed for precision and ease. For those who want neater and more defined brows, the angled tip can definitely deliver. It can also be used for blending in products for a softer finish.
When To Use Eyebrow Gel And Brow Powder
Brow powder is another type of product that you can use to fill in gaps between strands. It can be used in combination with your brow pencil or in place of it.
Brow gel, on the other hand, is used to keep your brow hair strands in place. Some may opt to apply gel first and then fill in empty spots after, or blend in products first and then seal them all with brow gel when through - this is entirely up to you!
How To Choose The Right Eyebrow Pencil Shade?

Achieving a look without a hint that you’re using a product takes a mix of three things: Practice, blending, and getting the right shade. It’s easier to choose a hue than most think, and we’ve listed a few tips below.
What Is The Ideal Shade For Your Hair Colour?
The go-to guide for choosing a pencil shade is basing it on your natural hair color. For better chances of getting a natural look, go for a shade that is either lighter or darker by only 1-2 shades. Anything beyond that range would be too contrasting.
Should You Use Two Shades For A Natural Look?
Many people naturally have two shades in their hair, and it’s perfectly fine for you to play around with different shades as well. In fact, many swear by this technique! Start off by using a darker hue for the highest part of your brows and gradually blend into a lighter shade towards the inner portion. To achieve this, you can either use different shades or simply adjust the pressure of your pencil.
How To Select A Taupe Eyebrow Pencil
A taupe brow pencil works best for those with either blonde or light brown hair, however, this shade is practically universal and would look just as great on any hair or skin tone.
What Are Common Mistakes Beginners Make With Eyebrow Pencils?
The great thing about eyebrow pencils is they’re easy to remove and reapply, which makes it a breeze for beginners to pick up where they left off should a stroke go misplaced.
How To Avoid Overly Harsh Lines
One of the easiest mistakes to make (even when you’ve filled in brows for a while) is to draw on harsh lines from time to time. By applying too much pressure with each stroke, you end up with extra dark marks that would stand out like a sore thumb. Instead, you want to practice keeping your strokes light, swift, and as close to hair strands as possible. You can always build on them for a gradual, darker shade.
Why Your Eyebrows Don’t Look Natural Without Blending
Applying brow pencil without blending any of the product in can end up looking too dark or contrasting against your skin. You want to go for softer finishes and make it appear like your brows naturally fade into your face.
How To Correct Sparse Areas
The best way is to start off with a quick brush of your brows to fully check where all existing bald spots are. You can then start to fill them in slowly using hair-like strokes and gradually build up the shade until your brows look whole. Remember to blend before finishing up!
What To Use Instead Of An Eyebrow Pencil?
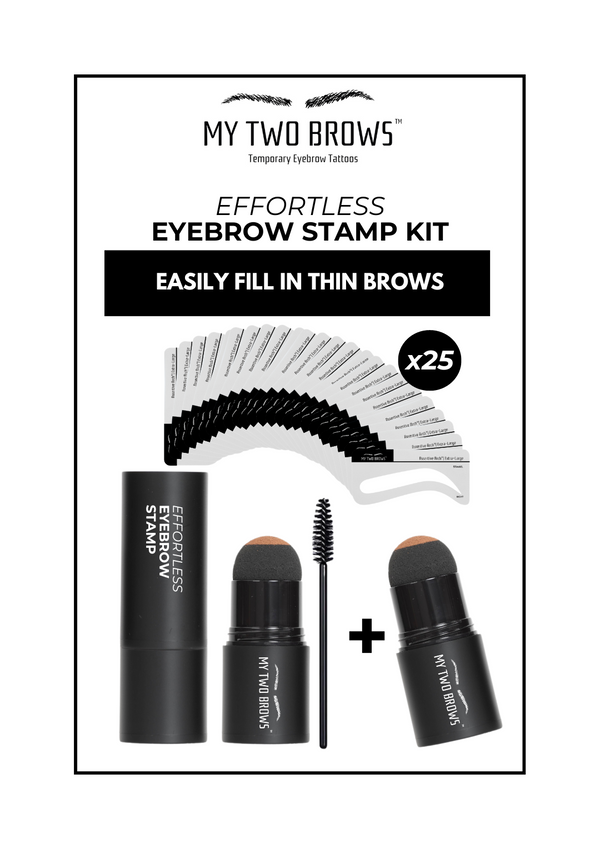
Getting naturally shaped brows in the right shade and arch height is also possible without having to fill them in or without any cosmetic procedures. Thanks to innovation, many brow enhancement tools now offer an instant way to get flawless results that guarantee success each time. A tool that delivers just that is the Eyebrow Stamp Kit.

By lining your chosen stencil on your face, dabbing the pigment through the stencil, and blending it all in afterward, you can enjoy beautifully applied brows in under a minute! These can last all day as the product is smudge-proof, waterproof, and sweat-proof - giving you more time to live life and less time getting ready in front of the mirror.
What Techniques Can Help Shape Your Eyebrows?
Getting the right brow shape can be tricky, especially when there is little to no brow hair left to work with. In this section, we tackle quick techniques to get you natural brow shapes fast!
How To Use An Eyebrow Tutorial For Beginners
The power of the internet can support us in many day-to-day tasks no matter the type of learning you prefer - be it written, visual, or first-hand. While an endless number of articles guide you through steps on eyebrow tutorials for beginners, you can also find great tips and tricks in visual form through YouTube. The best way to take advantage of these free resources is to listen intently and try it out for yourself!
What Is The Best Angle For Eyebrow Shaping?
The best angle for your brow shape entirely depends on your natural features as you should use them to frame your face and compliment the rest of your look. For instance, if your face is more rounded, counter that curve by having a higher arch. Similarly, those with a longer face should keep the curve minimal and those with a square-shaped face are best adding a bold brow with a slight arch.
How To Define The Tail Of Your Eyebrow

Some tails are sharp, some are rounded, some are short, and some are long - which one is best for you? The most efficient way to determine the length of your brow tail is by taking one end of your pencil and positioning it on the dimple of your nose. Diagonally connect the other end of your pencil to the outer corner of your eye and where this lands is how long your brow tail should be.
When it comes to how sharp or rounded your brow tail should be, consider this guide: The more angular your face shape, balance it out with a rounded tail and vice versa. However, keep in mind that the tail length, arch height, and overall brow width are the most defining factors so don’t sweat how sharp those tail tips are!
How To Maintain Your Eyebrow Pencil For Best Results?
When you take care of things, they last longer. In the case of brow pencils, that means bang for your buck and fewer trips to the store to find a replacement. Learn a few quick tips on how to lengthen the lifespan of your eyebrow pencil and keep those quality results coming.
How To Sharpen Your Eyebrow Pencil
While it may seem to do the job, regular pencil sharpeners are not good for your brow pencil. Instead, use a cosmetic pencil sharpener, which is specifically designed to keep makeup products intact and use gentle force to shape them correctly.

When To Replace Your Eyebrow Pencil
Brow pencils should be replaced every 1-2 years as using them for longer may result in bacteria getting into your eye. Any makeup that has more moisture should be replaced in 3-6 months.
How To Store Your Eyebrow Pencil Properly
Maintain your brow pencil by tightening the cap and storing it upright to prevent drying.
You’re All Set!
Learning how to apply eyebrow pencils is a great stepping stone for beginners. However, looking into products like the Eyebrow Stamp Kit can save you an even greater deal of time and effort in getting the perfect shape. Get that instant fix with a natural finish in only three steps today!


