Ultimate Guide to Eyebrow Mapping: Step-by-Step Tutorial & Tips
The road to perfectly drawn brows is paved with skilled eyebrow mapping. You would think that once you get the hang of drawing on brows perhaps you no longer need a guide on how much to fill in. While a lot of people wing it, brow professionals like microblading artists still adhere to the trusty brow mapping technique, ensuring that the results are just as expected each time. This also guarantees that the outline of your microblading after 5 years is consistent.
In this article, we cover the ultimate guide to eyebrow mapping including a tried and tested step-by-step mapping tutorial on how you can outline out your ideal brow shape in no time.
What is Eyebrow Mapping?

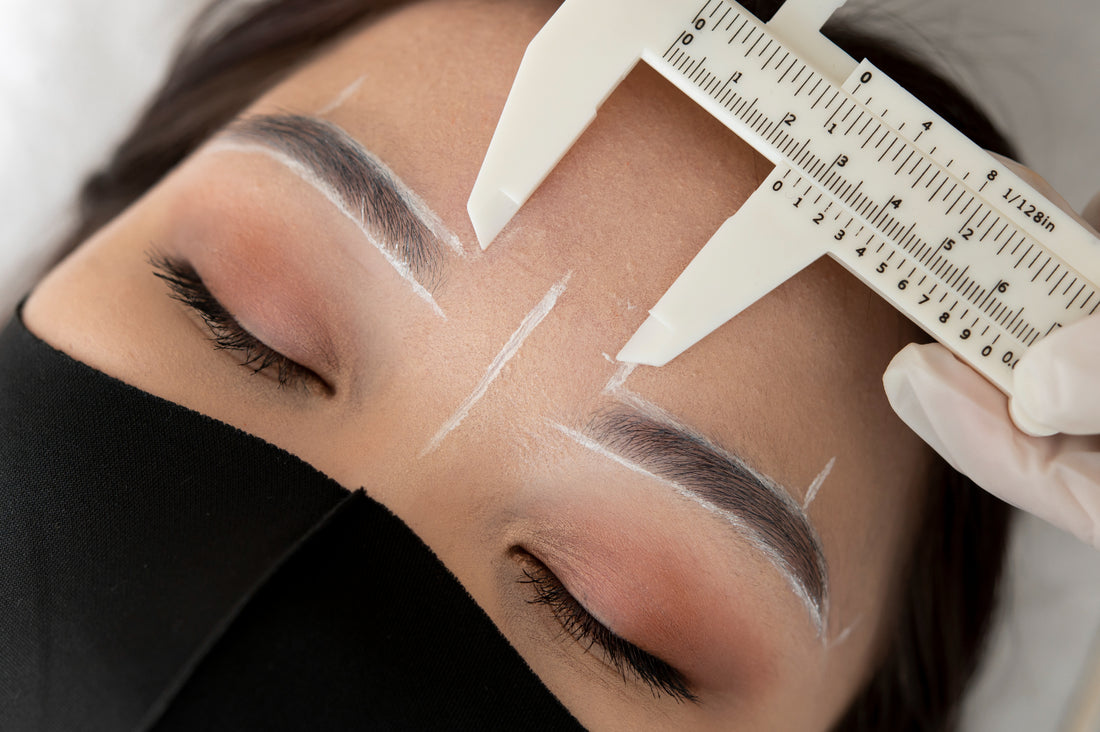
Eyebrow mapping is the art of measuring your brow line and eyes to come up with a shape that is best suited to your natural features. Through this method, you or your makeup artist will be marking points along your brow bone, signaling where your brows start, finish, and how high your arch should go. This is especially helpful in securing the perfect before and after transition when taking on semi-permanent procedures such as microblading, nanoblading, powder brows, or even henna tattoos.
Importance of Eyebrow Mapping
When having brows drawn on, it’s best not to leave things to chance and freestyle through the process - most especially if you’re having them tattooed by a PMU artist! Not only will taking this risk heighten the chances of getting badly tattooed brows, but the cost of microblading or other semi-permanent procedures is a hefty price to pay should you need a do-over.
With brow mapping, you can get a glimpse of how your brow shape will turn out, confirming whether or not they will be as you expected by the time your tattoo or permanent makeup session is over.
How Does Eyebrow Mapping Help You Map Perfectly?
Eyebrow mapping has three steps to it, each one with a point to mark. Following these marked coordinates, you can then better outline your brow design. This is a perfect way to fix thin eyebrows since you have a proper guideline on which areas need to be filled in.
Common Technique Used in Eyebrow Mapping
The most common and widely used technique when brow mapping is using a brow pencil. The eyebrow pencil is perhaps the most versatile makeup tool for anyone looking to draw or touch up their brows. It’s user-friendly, straightforward, and can double as a brow mapping gadget. In the next section, we’ll detail how a simple brow pencil has a great role in getting the right brow shape.
How to Create the Perfect Brow Shape?
The perfect brow shape starts off with the right set of tools, experience, and know-how to properly map them out. This section of the article is all about gearing you up for success with a step-by-step guide, a list of necessary tools, and also a few tips when detailing your arch for the best effect.
Tools Needed for Eyebrow Mapping

The two most essential tools needed in brow mapping are (1) a brow pencil or brow ruler and (2) the product you opt to use for filling in your brows.
The brow ruler or brow pencil will be used to measure the points along your brow bone while the product will help mark these points and also fill in the entire space.
Step-by-Step Guide to Brow Mapping

Step 1: Take the bottom end of your pencil or ruler and rest it on the dimple of your nose, vertically aligning the other end to the inner corner of your eye. This is the first point and signifies where your brows will start.
Step 2: Keeping the bottom end of your pencil or ruler still, slowly move the other end diagonally toward the middle portion of your brow. Line it up with your iris to indicate which part your arch should be, adjust the height according to your preference or which suits your facial features most.
Step 3: Finally, keeping the bottom portion of the tool on the same spot on your nose, move the other end further towards the outer corner of your eye. This portion marks your brow’s tail and where the tip should be.
Step 4: Now that you are done mapping your brows, carefully fill the area within the three points.
Tips for Achieving the Ideal Arch
Tip #1: Go Natural
Working with your natural features is always winning. Instead of plucking too much or changing up the shape too drastically, working with your natural arch can often give the ideal outcome. Be sure to first brush your brows over and up before using your chosen brow mapping tool.
Tip #2: Use Stencils
If your brows have completely disappeared, leaving little to no trace of your natural outline, using brow stencils can work wonders in giving a natural arch and overall brow shape.
Tip #3: Consider Your Face Shape
Our face shapes can help steer us int he right direction when it comes to arch height. For instance, those with longer faces may prefer flat and rounded arches as this can help balance out their face length, Similarly, those with round faces may benefit more from a higher arch to make their face look longer and accentuate their bone structure.
What Other Tools Are Used for Brow Mapping?

The brow pencil is the most common, affordable, and accessible tool used in mapping. However, others still opt to use brow rulers, mapping thread, and tweezers.
Choosing the Right Brow Mapping String
Brow mapping strings are usually pre-inked in order for immediate application. With artists who perform semi-permanent procedures such as powder brows, having a pre-inked eyebrow mapping string can help cut the total session time, allowing more attention to the tattooing process. These come in a variety of colors in order to provide a good fit for any skin tone, and also come in many more than one length to maximize usage over time. The color you opt for when choosing a string should match your natural hair or your skin to make it less visible in the results.
Using a Ruler for Precise Measurements
Many brow tattoo artists utilize a ruler to guarantee more precise measurements. To use it, you must first find the center of your face by placing the ruler against your forehead and around your brows. Use a brow pencil to mark the middle, corners, and arch of your brows. Start outlining the length using your marked areas then remove the ruler to check the shape before filling it in.
How to Use Eyebrow Mapping in Microblading?

Procedures such as microblading and other semi-permanent methods should always have a step for brow mapping. Especially when dealing with brow treatments that last at least a year or two on the skin, it is important to guarantee accurate pigment application.
Integrating Mapping Techniques with Microblading
Mapping is one of the initial steps in microblading. This step lessens the chances of wanting to have tattooed brows removed post-procedure due to disappointment in how the brow shapes turned out. This step should come after the interview and consultation, and before numbing the brow area for pigment application.
Pre-Inked Mapping vs. Traditional Mapping
Pre-inked mapping often refers to the inked string or thread used in outlining symmetrical brows. Traditional mapping, on the other hand, means utilizing a brow pencil, ruler, or similar tools to draw on a guideline.
The main benefit of using pre-inked mapping is saving some time as the points can be easily marked in a swift motion. However, the contrast isn’t too great to rule one out completely.
What Are the Common Mistakes in Eyebrow Mapping?
Brow mapping is a means to accurate and beautifully crafted brows. Because this method relies heavily on precision, mistakes can happen just as easily as they can be corrected.
Identifying and Avoiding Common Errors
- Misplaced Arch
A misplaced arch may be the most common brow mapping mistake. Placing it right smack in the middle often gives off an exasperated look, while drawing it too much into the corners will look unbalanced. Find a good placement somewhere between the middle and tail of your brows.
- Not Considering Natural Growth
If you have strands of hair growing on your brow line, use the natural growth to outline and better shape your overall brow.
- Focusing On Making Brows Identical
Ever heard the saying “they’re cousins, not sisters”? Brows do not need to mirror one another. For as long as they are proportioned and balanced, that’s all you want to aim for!
How to Verify Your Mapping Technique
Mapping your brows at home will require some trial and error. You may verify your learned technique by rewatching tutorial videos online, consulting your brow artist as a client, or simply checking if you feel you are happy with the outcome.
You’re All Set!
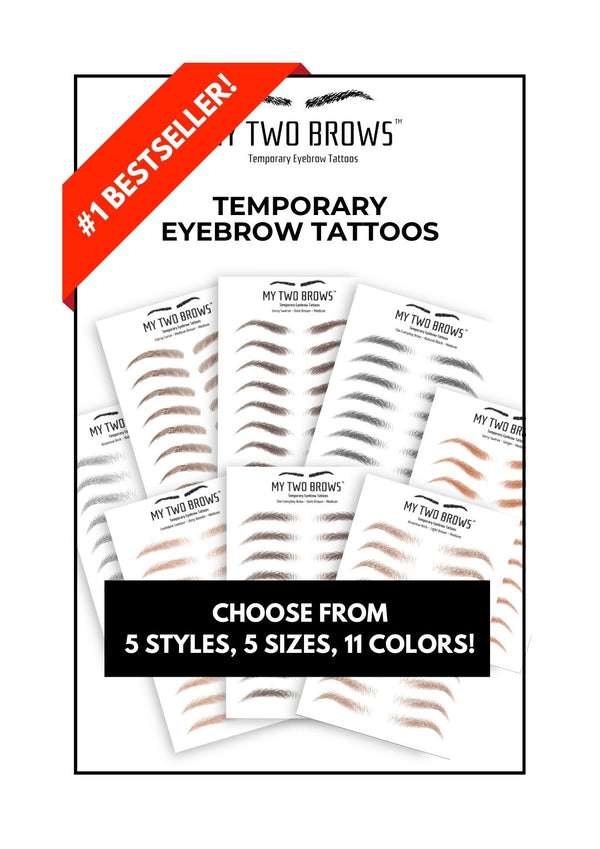
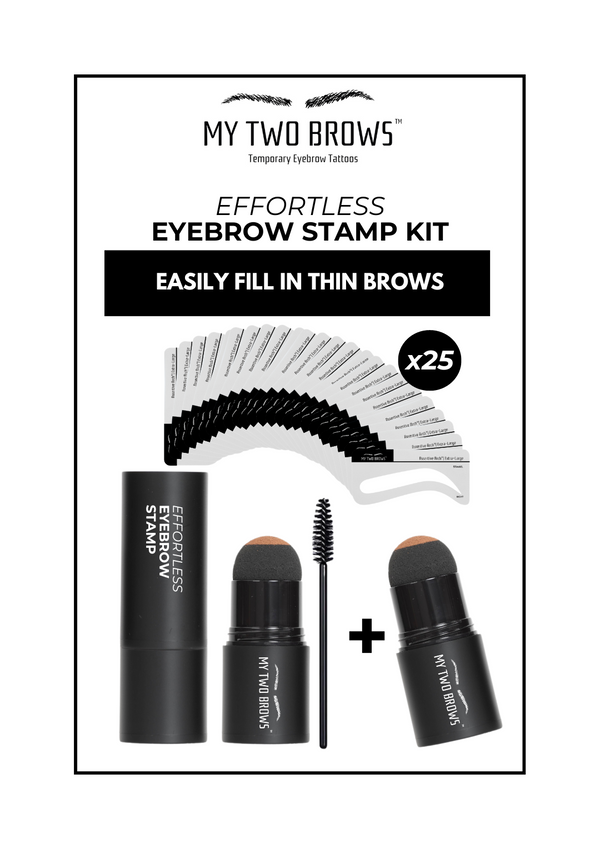
Eyebrow mapping is a step to accurate and natural-looking brows, but it’s a step with a learning curve regardless. Those who prefer to forgo mapping and semi-permanent procedures are much better off with brow tools that instantly map out the ideal brow shape for you. These include brow stamp kits and temporary brow tattoos, either one can produce brows that look natural in under a minute and without the need for costly treatments. Moreover, zero aftercare is needed as these are non-invasive alternatives that are affordable and accessible right here at My Two Brows shop.


