Unlock the Secret to Perfect Brows: Microblading Aftercare Instructions
With semi-permanent brow procedures increasing in demand each year, it is important to fully understand each treatment before receiving one for yourself. This includes getting a grasp on the results you can expect, the most common side effects, and the best ways to support its healing process.
One of the most popular semi-permanent eyebrow enhancement options is microblading. Microblading has been around for decades and is a relatively safe and highly effective brow treatment. With the right professional artist and by applying correct microblading eyebrows aftercare, there should be little to no issues on your journey to your perfect brows.
In this guide, we cover all things related to microbladed eyebrow recovery and what you can do to support the process.
What to Know About Microblading Aftercare
For as much as we would all love to get a quick treatment done and be back to our routine the next day, it’s not always the case. Microblading involves having multiple microneedles inserted into the skin, each one depositing an ample amount of pigment to mimic natural hair strands.
While it is minimal, this procedure still breaks the surface of the skin, requiring a little downtime for healing and recovery.
The Importance of Aftercare in the Healing Process
Aftercare post-treatment is crucial, especially in the first 2 weeks. During this period, your skin starts to recuperate as the pigment settles in, and it is our responsibility to be gentle with it as its sensitivity levels are heightened.
By applying the right aftercare method prescribed by your microblading artist, not only will your skin heal in a healthy way, but it can also speed along the process while minimizing the risk of infections and other side effects.
Day-by-Day Aftercare Instructions for Microbladed Eyebrows
Our skin is unique and can react very differently to microblading compared to the next guy. Because of this, it is important to follow what your artist suggests for your skin specifically. However, we’ve listed down the general aftercare recommendation post-treatment from day 1 until fully healed to give you a better idea of what you can expect.
Days 1-3: In the first 3 days, you can expect the most redness, swelling, tenderness, and on some occasions, mild bleeding. At this time, your artist may recommend applying a bit of Vaseline or special ointment using a cotton swab multiple times a day.
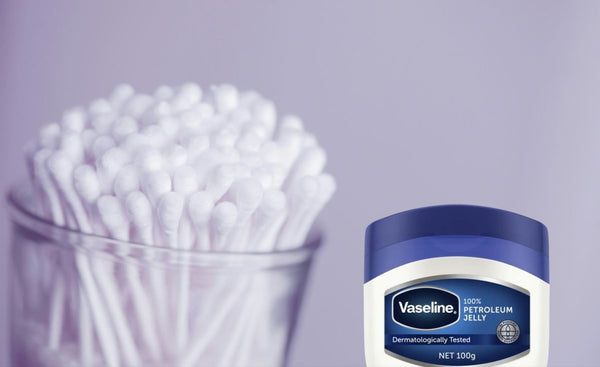
Days 4-7: As the week progresses, you will notice some scabbing, flaking, and itchiness. It is important to not pick or scratch the area, instead, continue applying the Vaseline or ointment and these should help minimize the discomfort. It is also recommended to start and end the day by gently cleaning your brows with mild antibacterial soap - nothing with acid or exfoliants!
Days 8-14: You’ve gotten over the hardest part of the healing process. The scabbing, flaking, and itchiness should start to subside as the color starts to even out. In this second week, continue to gently wash with a mild antibacterial soap every morning and evening. You may stop applying Vaseline or ointment regularly, and only when you feel your brows are drying up.

General Guidelines: Throughout the entire 2-week period, be sure not to scratch, peel, pick, or constantly touch your brows. It is also crucial not to apply any makeup or skincare product on the brow area or any skin near it - this includes sunscreen.
Moreover, minimize your exposure to the sun, sweat, and water. This not only means no trips to the pool, beach, gym, or tanning salon but you should also keep your baths short and your brows dry at all times. Lastly, it’s completely normal for your brows to start too bold and gradually lighten over time, so let the pigment work its magic.
Do's and Don'ts After Your Eyebrow Microblading Procedure
The healing process is when your brows are at their most sensitive state post-treatment. While there are many ways you can support this process, there are even more things you must avoid to ensure your health and the success of the treatment.
Products to Use and Avoid During the Healing Period
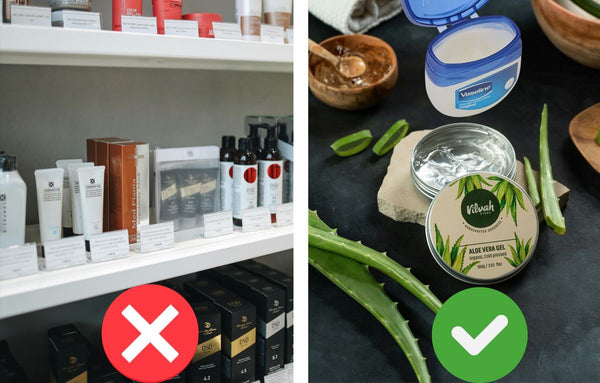
Avoid all types of makeup and skincare products during the healing period as this can irritate the area and risk pigment loss. This is especially relevant to products that contain acids, exfoliants, and chemicals.
Only apply Vaseline, aloe vera, or your artist’s recommended healing ointment. Products that are gentle and hydrating can help soothe the area, just make sure they do not contain anything that can irritate your brow line.
Signs That Your Eyebrows Are Healing Properly
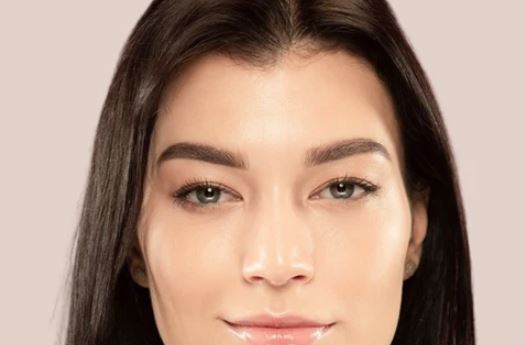
It can be hard to tell if your brows are healing correctly in its early stages since all you see are redness and swelling, combined with itchiness and flaking, and finished off with thick, bold pigment. There is no need to worry as this is completely normal and should subside within the first two weeks.
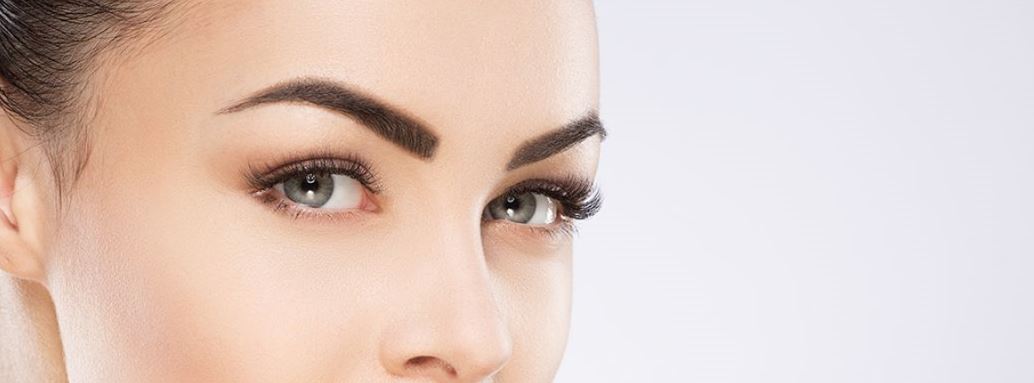
When you start to see these effects tone down and your brows start looking natural between days 8 and 14, this is a good sign. Moreover, if you are not experiencing any rashes or infections, this means your aftercare is working as it should and you can continue as is.
Why Keeping Your Eyebrows Dry is Crucial

Controlling the moisture on your brow line post-treatment is crucial for three reasons:
- It helps the skin retain more of the pigment, allowing your microbladed brows to become more detailed, have better color, and result in crisp strokes.
- This allows for scabbing, which is an integral step in the healing process.
- Showers aside, getting your brows wet in the ocean, pool, jacuzzi, and the like can heighten the risk of infection.
That being said, gently washing the area with mild anti-bacterial soap and then patting them dry right after is completely okay and even recommended. Just as how you treat other wounds, keeping your brows clean and dry is the way to go.
The Impact of Your Skincare Routine on Microbladed Eyebrows
Many avid users of skincare products may be accustomed to having multiple skincare steps in a day. While many of these products are packed with nourishing ingredients, most if not all contain traces of acid and exfoliant, and some even have chemicals in them. These, no matter how little, can have a negative effect on your sensitive and healing brow line.
Hitting a pause on your routine and opting for simple and gentle products for the first two weeks post-treatment can go a long way.
Activities to Avoid to Ensure the Best Results
Certain skin products are not the only things you need to avoid after treatment, these activities must also be put on hold for 7 to 14 days after your microblading procedure:
- Sauna
- Tanning
- Direct exposure to sunlight
- Gym or excessive exercise
- Swimming in pools and beaches
- Chemical peels, facials, and the like
Choosing the Right Aftercare Products for Microbladed Eyebrows
After treatment, your microblading artist should be able to recommend products that are best suited to your skin. However, they may sometimes give you the freedom to choose especially if your skin type is normal, dry, or combination, which normally reacts best to the treatment. Here’s a quick guide to help you navigate your aftercare products.
Why the Right Aftercare Ointment Matters
The right aftercare ointment can support your brow’s healing, lessen the risk of infection, and also promote better results. Microbladed bladed brows are essentially wounds as the procedure involves puncturing the skin with multiple microneedles. Because of this, it should be treated as such using gentle, hydrating, and non-irritating products.
What Type Of Products To Consider
The rule of thumb is no harsh chemicals, acids, or exfoliants should go on your brows while they heal. Only focus on all-natural, gentle, hydrating, and nourishing ingredients - the simpler the better!
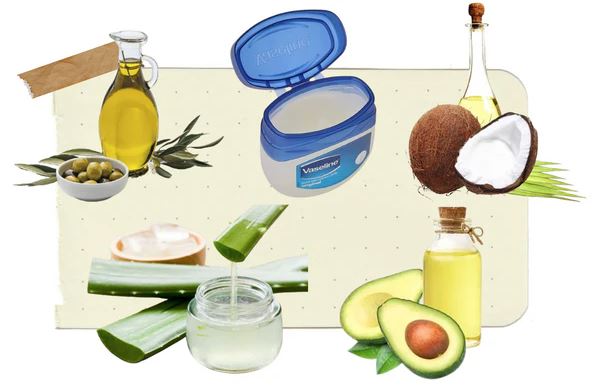
Many individuals who have had microbladed brows have found ample healing support with aloe vera, coconut oil, Vaseline, virgin olive oil, avocado oil, and any medicated ointment that tattoo artists would recommend may also be used.
There are mixed reviews as to whether or not sunscreen can be applied and we suggest only using gentle sunscreen after at least 7 days.
Understanding Different Types of Microblading Aftercare
The general aftercare guideline above is also known as wet healing, which we realize can be confusing as we always highlight the importance of keeping your brows dry - but bear with us.
Both “dry healing” and “wet healing” involve gently cleaning your brows with mild antibacterial soap and then immediately patting them dry using a clean cloth, cotton pad, or other non-abrasive cloth. The only difference between the two is that with wet healing, you apply medicated ointment, aloe vera, Vaseline, or any other hydrating product. With dry healing, there is no need to apply anything after washing the area.
Dry Healing vs. Wet Healing: Which is Best for You?
Some artists may favor dry healing due to the belief that the strokes remain as crisp and defined as they were applied. However, the downside is that you can expect more scabbing, itchiness, and tightness in the area. Moreover, the scabs may end up thicker and bigger, which heightens the chances of pigment coming off with it.
It’s important to note that these side effects may not be as evident on oily skin since there is constant natural hydration. For this reason, dry healing is usually only recommended for those with oily skin types.
Wet healing, on the other hand, is a more popular method of aftercare. The added step of applying a thin layer of ointment, gel, and other hydrating products helps prevent bacterial buildup and protects the wound as it recovers. This routine helps minimize scabbing, itchiness, and overall discomfort. Those with oily skin may also utilize the wet healing method as it is applicable to all skin types.
When to See Your Technician for a Follow-Up
After your microblading session, you should set an appointment for your initial follow-up, which is often in the 6 to 10-week mark post-treatment. This session is to check if your brows have healed nicely and if there are any patches that require a retouch.
After which, your brows should be good to go and last you 1-2 years before needing another touch-up. If you opt not to get them enhanced regularly, they gradually fade until all pigment is gone.
Is Microblading For Everyone? What Else To Try?
If you are waiting for overplucked brows to grow back, or have been experiencing hair loss for a while now, finding the right brow treatment can help boost your overall quality of life. There is no one-size-fits-all option and it is best to explore past microblading.
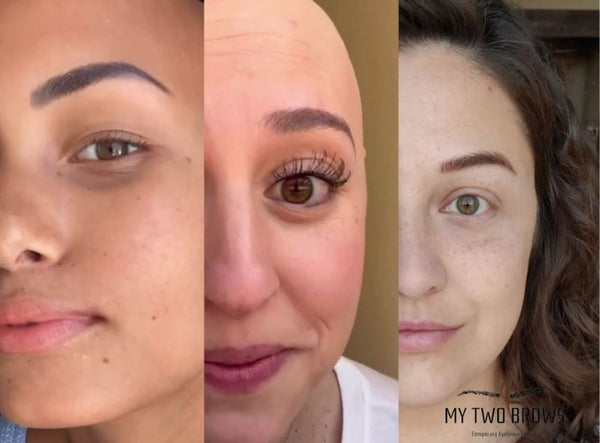

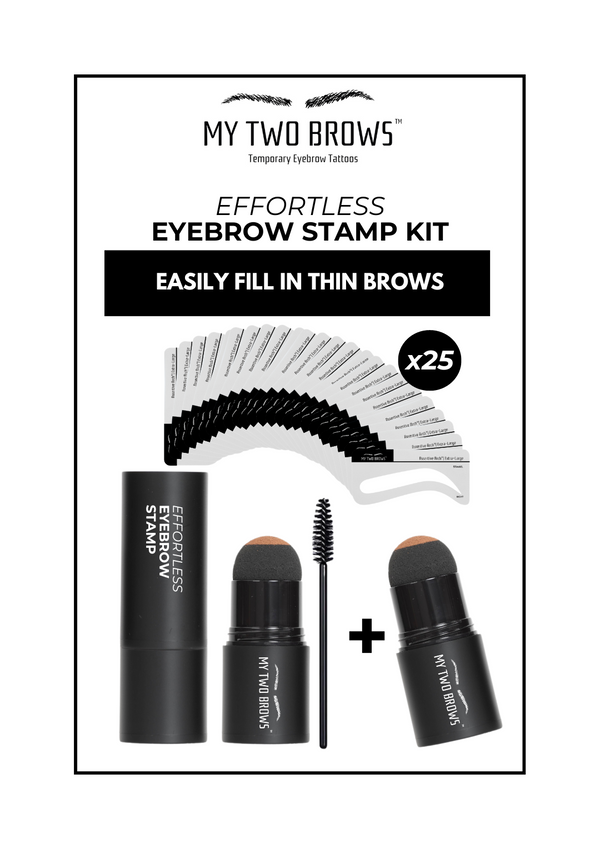
If you have doubts about microblading, we recommend opting for a temporary eyebrow tattoo. This DIY method not only gives you the chance to try over 5 different brow shapes, 5 different sizes, and 11 different colors until you find the perfect pair of brows, but you can also get a free sample pack before making a purchase. They are easy, affordable, and easy to wash off, making them a hassle-free, low-commitment alternative.
Other recommended options include:
- Henna Brows
- Powder Brows (Powder brows are most similar to microblading)
- Growth Serums
- Natural Oils
- Eyebrow Pencil
- Eyebrow Makeup
- Rogaine or Minoxidil
- Eyebrow Stamp Kits
Not recommended:
We do not recommend getting permanent eyebrow tattoos. While they may last a lifetime on your skin, permanent tattoos have poor results over time as they tend to discolor and look unnatural.
You’re All Set!
While the thought of getting gorgeous, natural-looking brows is tempting, considering your microblading eyebrows aftercare is just as important. How well your brows heal can significantly contribute to its longevity, aesthetics, and overall health.
Let customers speak for us